지금까지 Go 기본 패키지에 대해 정리했던 것을 기반으로 웹 어플리케이션을 만들어보는건 어떨까? SPA 구조의 프론트엔드를 공부할 때 종종 둘러보는 TodoMVC를 이용하고, Go 언어로 백엔드를 만들어 가는 과정을 정리해 보면 웹 어플리케이션 개발을 이해하는데 도움이 되지 않을까 생각한다.
TodoMVC에서 가져오기
먼저 go-todo란 폴더부터 만들자.
$ mkdir go-todo && cd go-todo
$ git init
폴더로 이동해서 깃 트래킹을 초기화했다.
이미 구현해 놓은 Todo 어플리케이션 코드를 가져오자. 깃헙 tastejs 계정의 todomvc 저장소에서 가져올 것이므로 "front" 라는 이름 원격 저장소로 등록한 뒤 패치한다.
$ git remote add front git@github.com:tastejs/todomvc.git
$ git fetch front
저장소의 examples 폴더에 가면 프론트엔드 기술별로 투두(Todo) 어플리케이션을 구현해 놓은 코드가 있다. 라이브러리를 사용하지 않고 구현한 vanillajs 코드를 가져오자.
$ git checkout front/master -- examples/vanillajs
$ tree ./
.
└── examples
    └── vanillajs
        ├── index.html
        ├── js
        │   ├── app.js
        │   ├── controller.js
        │   ├── helpers.js
        │   ├── model.js
        │   ├── store.js
        │   ├── template.js
        │   └── view.js
        ├── node_modules
        │   ├── todomvc-app-css
        │   │   └── index.css
        │   └── todomvc-common
        │       ├── base.css
        │       └── base.js
        ├── package.json
        ├── readme.md
        └── test
            ├── ControllerSpec.js
            └── SpecRunner.htmlfr
정적 파일 처리
프론트엔드 코드는 js, html, css 등으로 이루어진 정적 파일이다. 먼저 정적 파일을 제공하기 위한 서버 코드를 작성해 보자.
Go의 FileServer를 이용하면 단 한 줄만으로 파일 서버를 만들수 있다. (Go net/http 패키지 참고)
main.go 파일을 만들어 아래와 같이 적어보자.
package main

import "net/http"

func main() {
  http.ListenAndServe(":3000", http.FileServer(http.Dir("examples/vanillajs")))
}
서버를 구동하고 브라우져로 접속하면 다음과 같이 Todo 어플리케이션이 동작하는 것을 확인할 수 있다.
$ go run .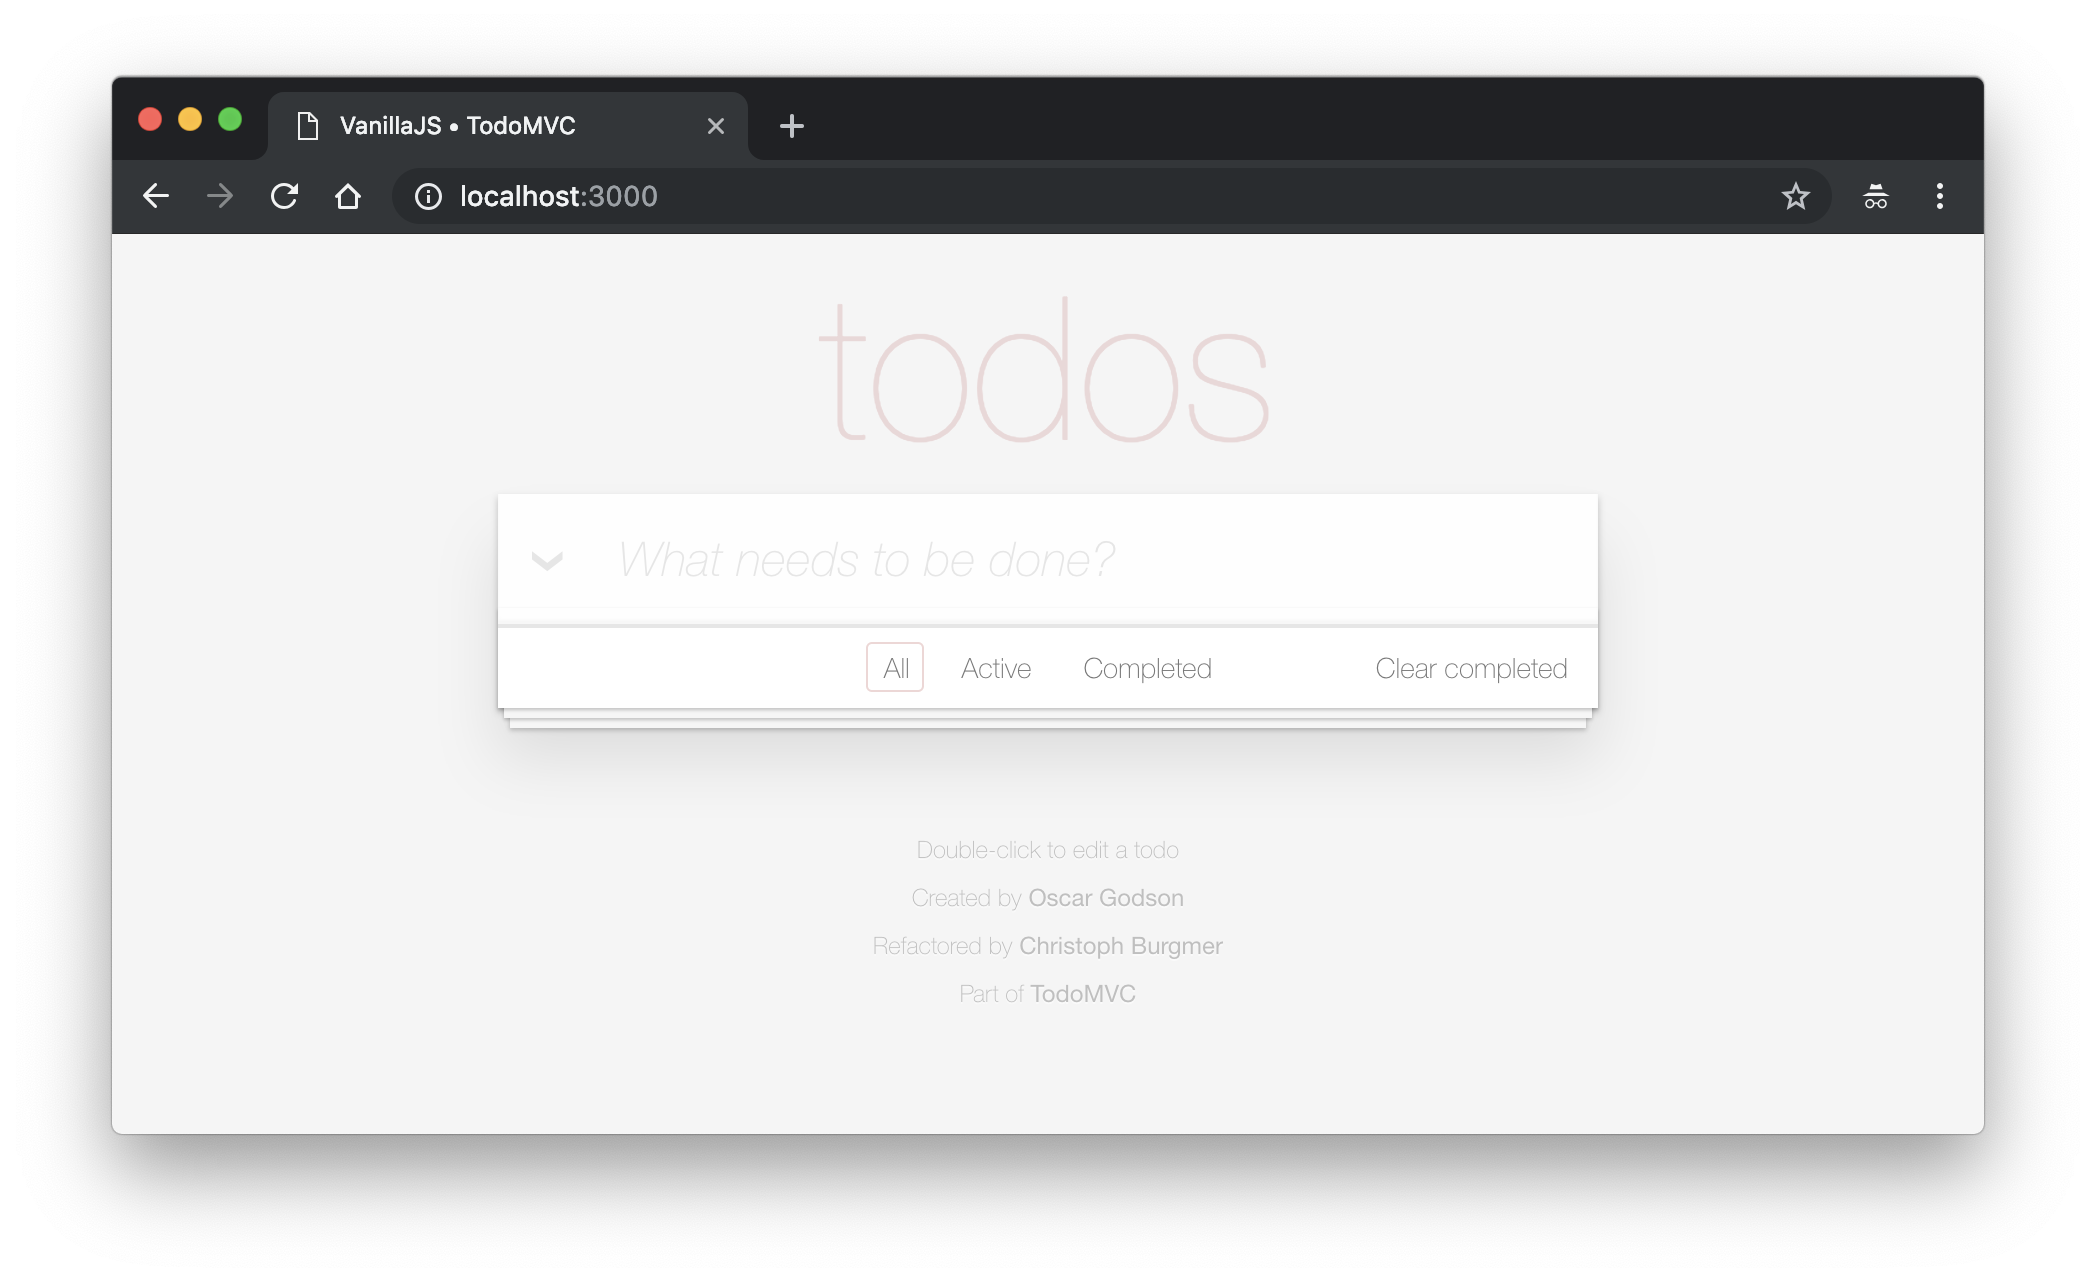
로컬 스토리지를 API로 변경
프론트엔드 파일 중 store.js가 데이터 처리를 담당한다.
examples/vanillajs
├── index.html
├── js
│   ├── app.js
│   ├── controller.js
│   ├── helpers.js
│   ├── model.js
│   ├── store.js  // ** 데이터 처리 모듈 **
│   ├── template.js
│   └── view.js
├── node_modules
│   ├── todomvc-app-css
│   │   └── index.css
│   └── todomvc-common
│       ├── base.css
│       └── base.js
├── package.json
├── readme.md
└── test
    ├── ControllerSpec.js
    └── SpecRunner.html
코드를 좀 살펴보니 브라우져의 localStorage 저장소를 사용하고 있다.
// Store 클래스
function Store(name, callback) {
  if (!localStorage.getItem(name)) {
    var todos = [];
    localStorage.setItem(name, JSON.stringify(todos));
  }
  callback.call(this, JSON.parse(localStorage.getItem(name)));
}

// 전체 투두 데이터 조회
Store.prototype.findAll = function (callback) {
  callback.call(this, JSON.parse(localStorage.getItem(this._dbName));
};

// 투두 데이터 검색
Store.prototype.find = function (query, callback) { };

// 투두 데이터 저장
Store.prototype.save = function (updateData, callback, id) { };

// 투두 데이터 삭제
Store.prototype.remove = function (id, callback) { };
우리가 만들 Go 서버는 정적 파일 뿐만아니라 API도 제공할 것이기 때문에 로컬 스토리지 사용하는 부분을 Ajax 요청으로 변경하겠다.
매 요청시마다 사용될 XMLHttpRequest 객체를 래핑한 $http 모듈을 전역에 등록한다. helpers.js 파일을 열고 아래 코드를 추가한다.
window.$http = function (path, method, data, callback) {
  var req = new XMLHttpRequest()

  req.open(method, path, true)

  req.onreadystatechange = () => {
    if (req.readyState === 4) {
      if (req.status === 200) {
        try {
          req.data = JSON.parse(req.responseText)
          callback(null, req)
        } catch (err) {
          console.log(err)
          callback(Error("$http response parse error"))
        }
      } else {
        callback(Error("$http request error"))
      }
    }
  }

  req.send(JSON.stringify(data))
}
요청 경로(path), 메소드(method), 바디 데이터(data)를 인자로 받는다. Ajax 요청이 비동기로 마친 뒤 응답 데이터를 콜백(callback)의 함수 인자로 전달해 호출하는 방식이다.
이 $http 함수를 이용하여 전체 데이터를 조회하는 findAll 메소드부터 Ajax 요청으로 바꾸어 보자.
Store.prototype.findAll = function (callback) {
  $http("/api/todos", "get", null, function (err, res) {
    if (err) {
      throw err
    }

    callback.call(this, res.data)
  })
}
$http 헬퍼 함수로 "GET /api/todos" 요청을 보내고 응답을 기존 콜백 함수로 전달했다.
API 엔드포인트 만들기
프론트엔드에서 "GET /api/todos" 요청을 보냈기 때문에 서버에서는 이를 처리하는 로직이 필요하다. Go 서버에 이러한 엔드포인트를 추가해 보자.
이 API는 서버가 관리하고 있는 Todo 목록 전체를 반환하기 때문에 Todo 구조체와 이를 담은 슬라이스를 먼저 만들자.
type Todo struct {
Id int `json:"id"`
Title string `json:"title"`
Complted bool `json:"completed"`
}
db := []Todo{}
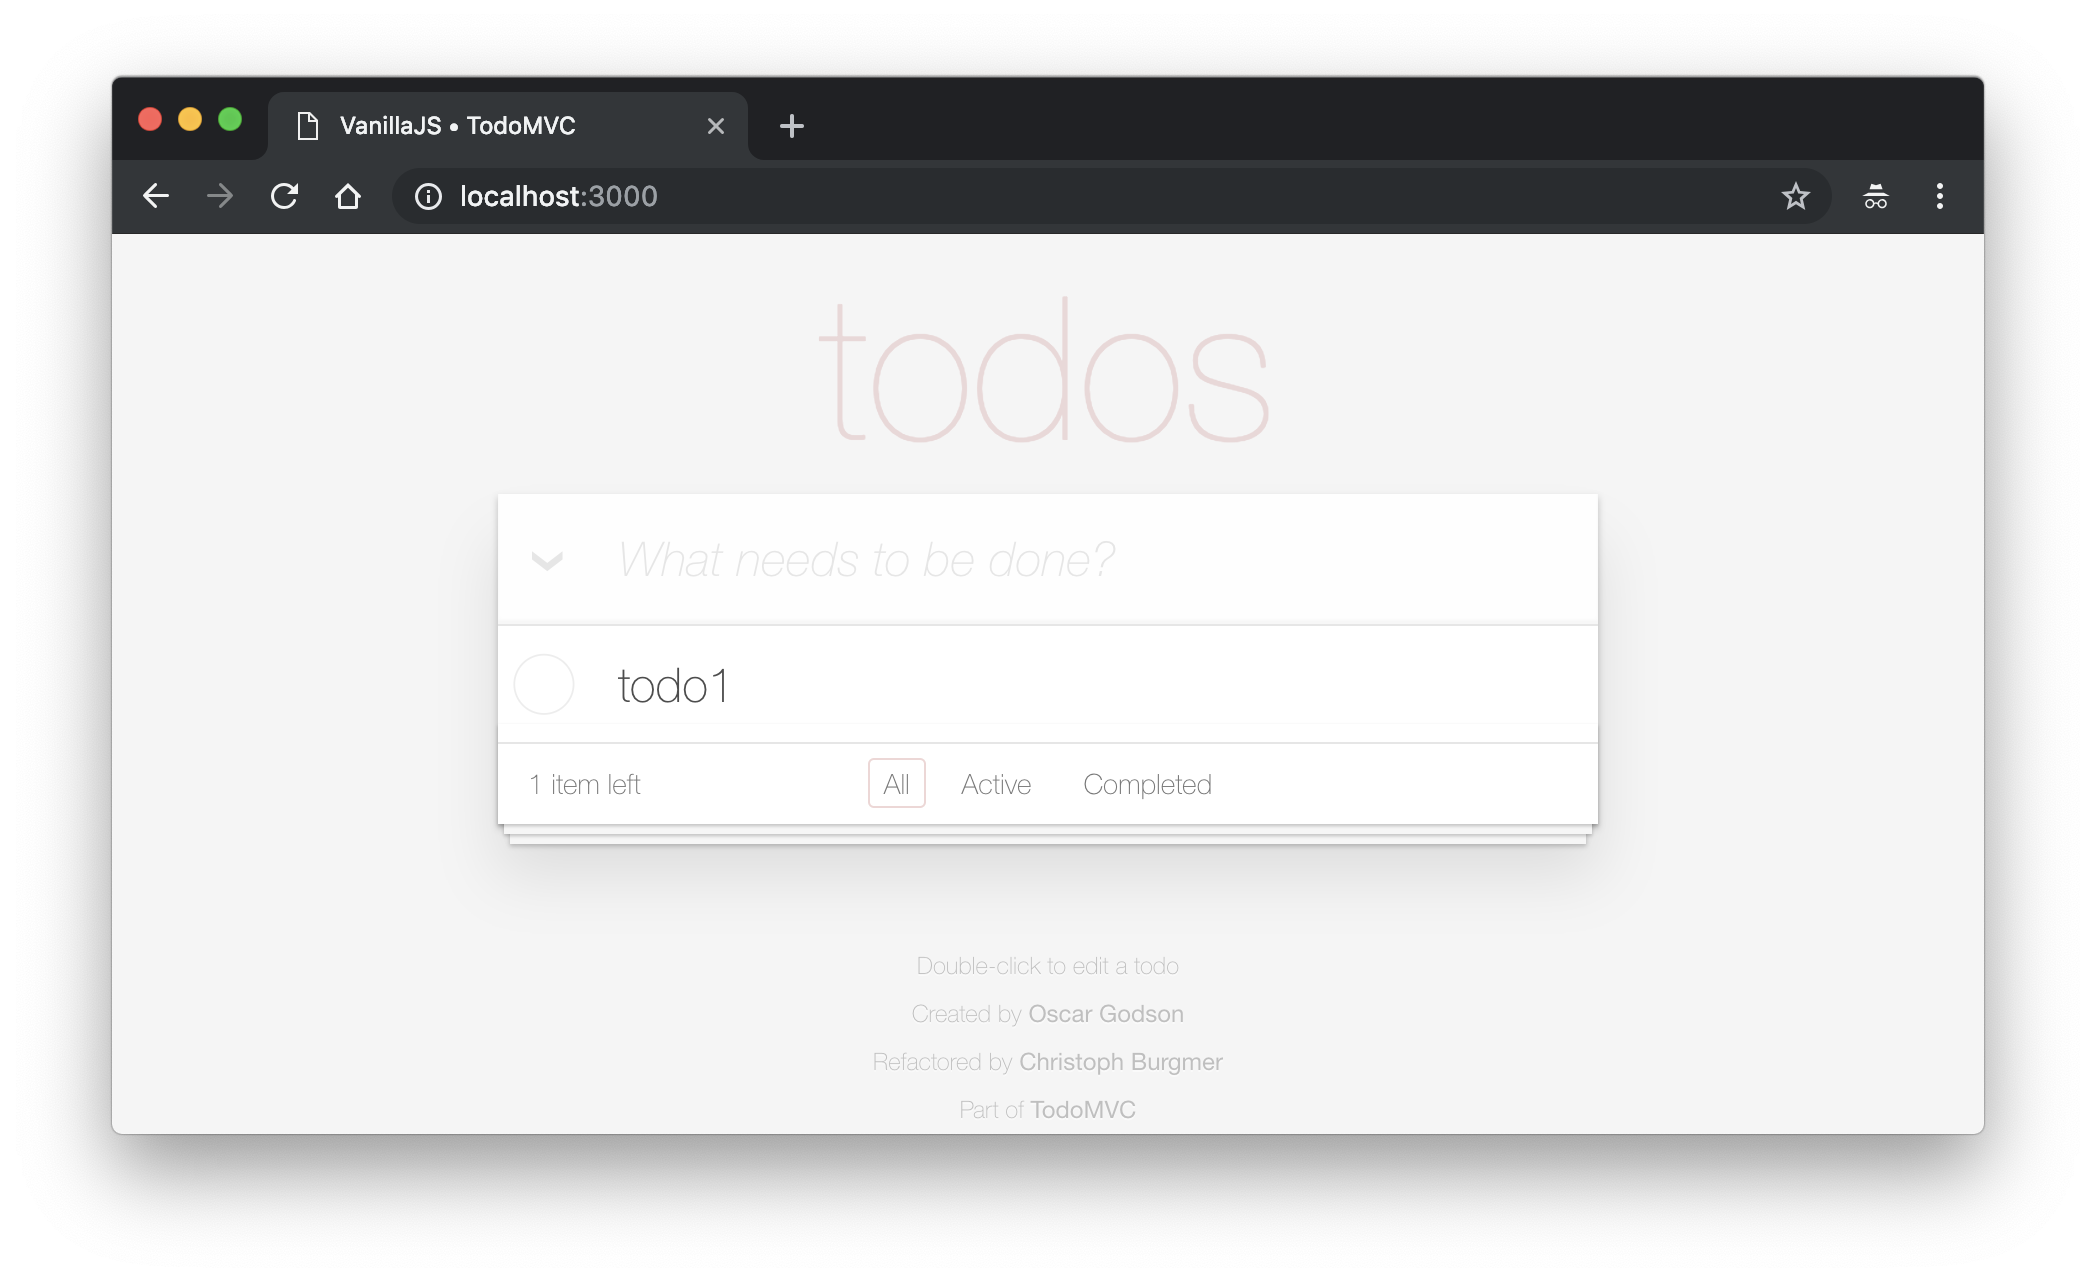
db = append(db, Todo{1, "todo1", false})샘플로 "todo1"을 만들어 빈 슬라이스에 추가했다. 조회 API는 이 슬라이스 전체를 응답 데이터로 전달하면 된다.
라우팅 등록을 위해 http.HandleFunc 함수를 사용할 수 있는데 아래 코드를 보자.
http.HandleFunc("/api/todos", func(rw http.ResponseWriter, r *http.Request) {
  enc := json.NewEncoder(rw)
  enc.Encode(&db)
})
라우트 경로인 "/api/todo" 문자열과 연결할 핸들러 함수를 인자로 넘겼다. 핸들러 함수 본문에서는 ResponseWriter를 이용해 요청한 클라이언트 측으로 데이터를 전송한다.
정적 파일과 서버 구동 코드는 다음과 같이 정리했다.
http.Handle("/", http.FileServer(http.Dir("examples/vanillajs")))

fmt.Println("server is running http://localhost:3000")
http.ListenAndServe(":3000", nil)
브라우저로 요청하면 샘플 데이터가 서버에서 브라우져까지 제대로 전달되는 것을 확인할 수 있다.
Application 타입 정의
조회시 "GET /api/todos" API를 사용한것 처럼 데이터 생성 API는 메소드만 POST로 바꾼 "POST /api/todos"가 필요하다.
먼저 이 URL을 요청하는 프론트엔드 코드를 만들자.
Store.prototype.save = function (updateData, callback, id) {
  // 업데이트
  if (id) {
    $http("/api/todos", "put", { ...updateData, id }, function (err, res) {
      if (err) {
        throw err
      }

      callback.call(this, [res.data])
    })
  }

  // 추가
  else {
    // Generate an ID
    updateData.id = new Date().getTime()

    $http("/api/todos", "post", updateData, function (err, res) {
      if (err) {
        throw err
      }

      callback.call(this, [res.data])
    })
  }
}
save 메소드는 id 인자에 따라 데이터를 추가하거나 업데이트하도록 오버로딩하였다.
- id가 있을 경우: "PUT /api/todos" 요청
- id가 없을 경우: "POST /api/todos" 요청
두 Ajax를 지원하기 위한 백엔드 코드를 만들 차례다.
메도드 종류에 따라 핸들러 함수를 실행하려면 등록된 메소드와 핸들러 정보를 함께 쌍으로 기억하고 있어야한다. 이를 추상화한 Route 구조체를 정의하자.
type Route struct {
  method  string
  pattern *regexp.Regexp
  handler http.Handler
}
Route 타입은 메소드(method), 주소 규칙(pattern) 그리고 핸들러(handler) 정보를 담은 구조체다. 서버가 제공하는 엔드포인트 수량만큼 Route를 만들어야하는데 이를 관리하는 것이 Appllication 타입이다. 아래와 같이 정의하자.
type Application struct {
  routes []*Route
}
엔드포인트를 등록할때 마다 Application의 routes 슬라이스에 Route를 추가할 것이다.
추가를 위한 Add 메소드는 아래와 같이 정의한다.
func (a *Application) Add(method, path string, handler http.Handler) {
  a.routes = append(a.routes, &Route{
    method,
    regexp.MustCompile(path),
    handler,
  })
}
핸들러를 함수 정의 형식으로 받기 위해 AddFunc 메소드도 정의하자.
func (a *Application) AddFunc(method, path string, handler func(rw http.ResponseWriter, r *http.Request)) {
  a.Add(method, path, http.HandlerFunc(handler))
}
세번째 인자인 함수가 바로 핸들러 로직을 받는 부분이다. http.HandlerFunc(handler)로 함수를 핸들러로 변경할 수 있다. 이 핸들러를 곧장 Add 함수 인자로 전달하여 Route 를 추가한다.
그럼 이제 아래와 같은 Get 메소드를 정의할 수 있다.
func (a *Application) Get(path string, handler func(rw http.ResponseWriter, r *http.Request)) {
  a.AddFunc(http.MethodGet, path, handler)
}
메소드 인자를 미리 정의된 MethodGet 상수로 고정하여 AddFunc를 호출하는 부분함수 패턴을 사용했다. Post, Put, Delete 메소드도 같은 방식으로 만들 수 있다.
func (a *Application) Post(path string, handler func(rw http.ResponseWriter, r *http.Request)) {
  a.AddFunc(http.MethodPost, path, handler)
}

func (a *Application) Delete(path string, handler func(rw http.ResponseWriter, r *http.Request)) {
  a.AddFunc(http.MethodDelete, path, handler)
}

func (a *Application) Put(path string, handler func(rw http.ResponseWriter, r *http.Request)) {
  a.AddFunc(http.MethodPut, path, handler)
}
그리고 한가지 더. Application 타입을 http.ListenAndServer() 함수의 두번재 인자로 전달하고 싶다. 두번째 인자가 Handler 타입인데 ServerHTTP 메소드를 요구하는 인터페이스다. 따라서 Application에 ServeHTTP 메소드를 아래와 같이 구현한다.
func (a *Application) ServeHTTP(rw http.ResponseWriter, r *http.Request) {
  for _, route := range a.routes {
    matched := route.pattern.MatchString(r.URL.Path) && route.method == r.Method
    if matched {
      route.handler.ServeHTTP(rw, r)
      return
    }
  }

  http.NotFound(rw, r)
}
routes 슬라이스에 Route 값이 들어 있는데 요청에 따라 이 중 하나의 Route를 꺼내서 핸들러를 실행해 주면 된다.
for문으로 슬라이스를 순회하면서 요청주소(r.URL.Path)와 등록된 패턴(route.pattern)이 일치하는지 검사한다. 뿐만 아니라 요청 메소드(r.Method)와 등록된 메소드(route.method)도 확인한다.
모두 일치하면 등록된 핸들러(route.hander)의 ServeHTTP 메소드에 ResponseWriter와 Request를 전달하여 후속처리를 하도록 넘긴다.
만약 요청이 등록되어 있지 않을 경우 NotFound 함수로 404 처리를 하도록 했다.
Application 역할 추가
이왕에 몇 가지 역할을 Application에게 위임해 보자. Static 매소드를 만들어 정적 파일 처리하는 역할을 옮기자.
func (a *Application) Static(root string) {
  fs := http.FileServer(http.Dir(root))
  a.Add(http.MethodGet, "/*", fs)
}
정적 파일이 있는 루트 경로를 문자열로 받아 파일서버를 만든다. 모든 Get 요청에 대해 이 파일서버 핸들러가 처리하도롤 Add로 추가했다.
Start 메소드로 서버를 구동하는 역할도 맡기자.
func (a *Application) Start(port string) {
  fmt.Println("server is running http://localhost" + port)
  http.ListenAndServe(port, a)
}
대기할 포트 번호를 받아 ListenAndServer를 호출한다. 두번째 인자로 Application의 포인터 리시버를 전달할수 있는데 이것은 ServeHTTP 메소드를 구현하여 Handler 인터페이스를 충족했기 때문이다.
마지막으로 생성 함수까지 만들어 Application 개발을 일단락하자.
func NewApplication() *Application {
  return &Application{}
}
Application으로 기존 코드 개선
지금까지 Application 코드를 꽤나 길게 작성했는데 이번엔 이것을 이용해 기존 코드를 개선해 보겠다. 아래 메인 함수를 보자.
func main() {
  db := []Todo{}
  db = append(db, Todo{1, "todo1", false})

  a := NewApplication()

  a.Get("/api/todos", func(rw http.ResponseWriter, r *http.Request) {
    enc := json.NewEncoder(rw)
    enc.Encode(&db)
  })

  a.Static("examples/vanillajs")

  a.Start(":3000")
}
NewApplication() 으로 어플리케이션을 생성했다. 기존 구현했던 "GET /api/todos" 엔드포인트를 Get 메소드로 만들고, 정적파일 제공을 Static 메소드로 간단히 구현했다. 마지막으로 Start 메소드로 서버를 리슨상태로 만들었다.
POST 메소드 엔드포인트 추가
그럼 이제 프론트엔드에서 요청하는 "POST /api/todos" 엔드포인트를 만들어 보겠다.
어플리케이션의 Post 메소드를 사용한다.
a.Post("/api/todos", func(rw http.ResponseWriter, r *http.Request) {
  var t Todo
  json.NewDecoder(r.Body).Decode(&t)

  db = append(db, t)

  enc := json.NewEncoder(rw)
  enc.Encode(&db)
})
디코더를 이용해 바디 데이터를 Todo 타입의 값으로 변경했다. 이 데이터를 기존 디비에 추가하고 엔코더로 전체 데이터를 응답하는 로직이다.
요청 바디데이터를 Todo 값으로 디코딩하여 db 에 추가한다. 그리고 바로 응답하는 방식이다. 브라우져로 todo2 를 추가해 보자.
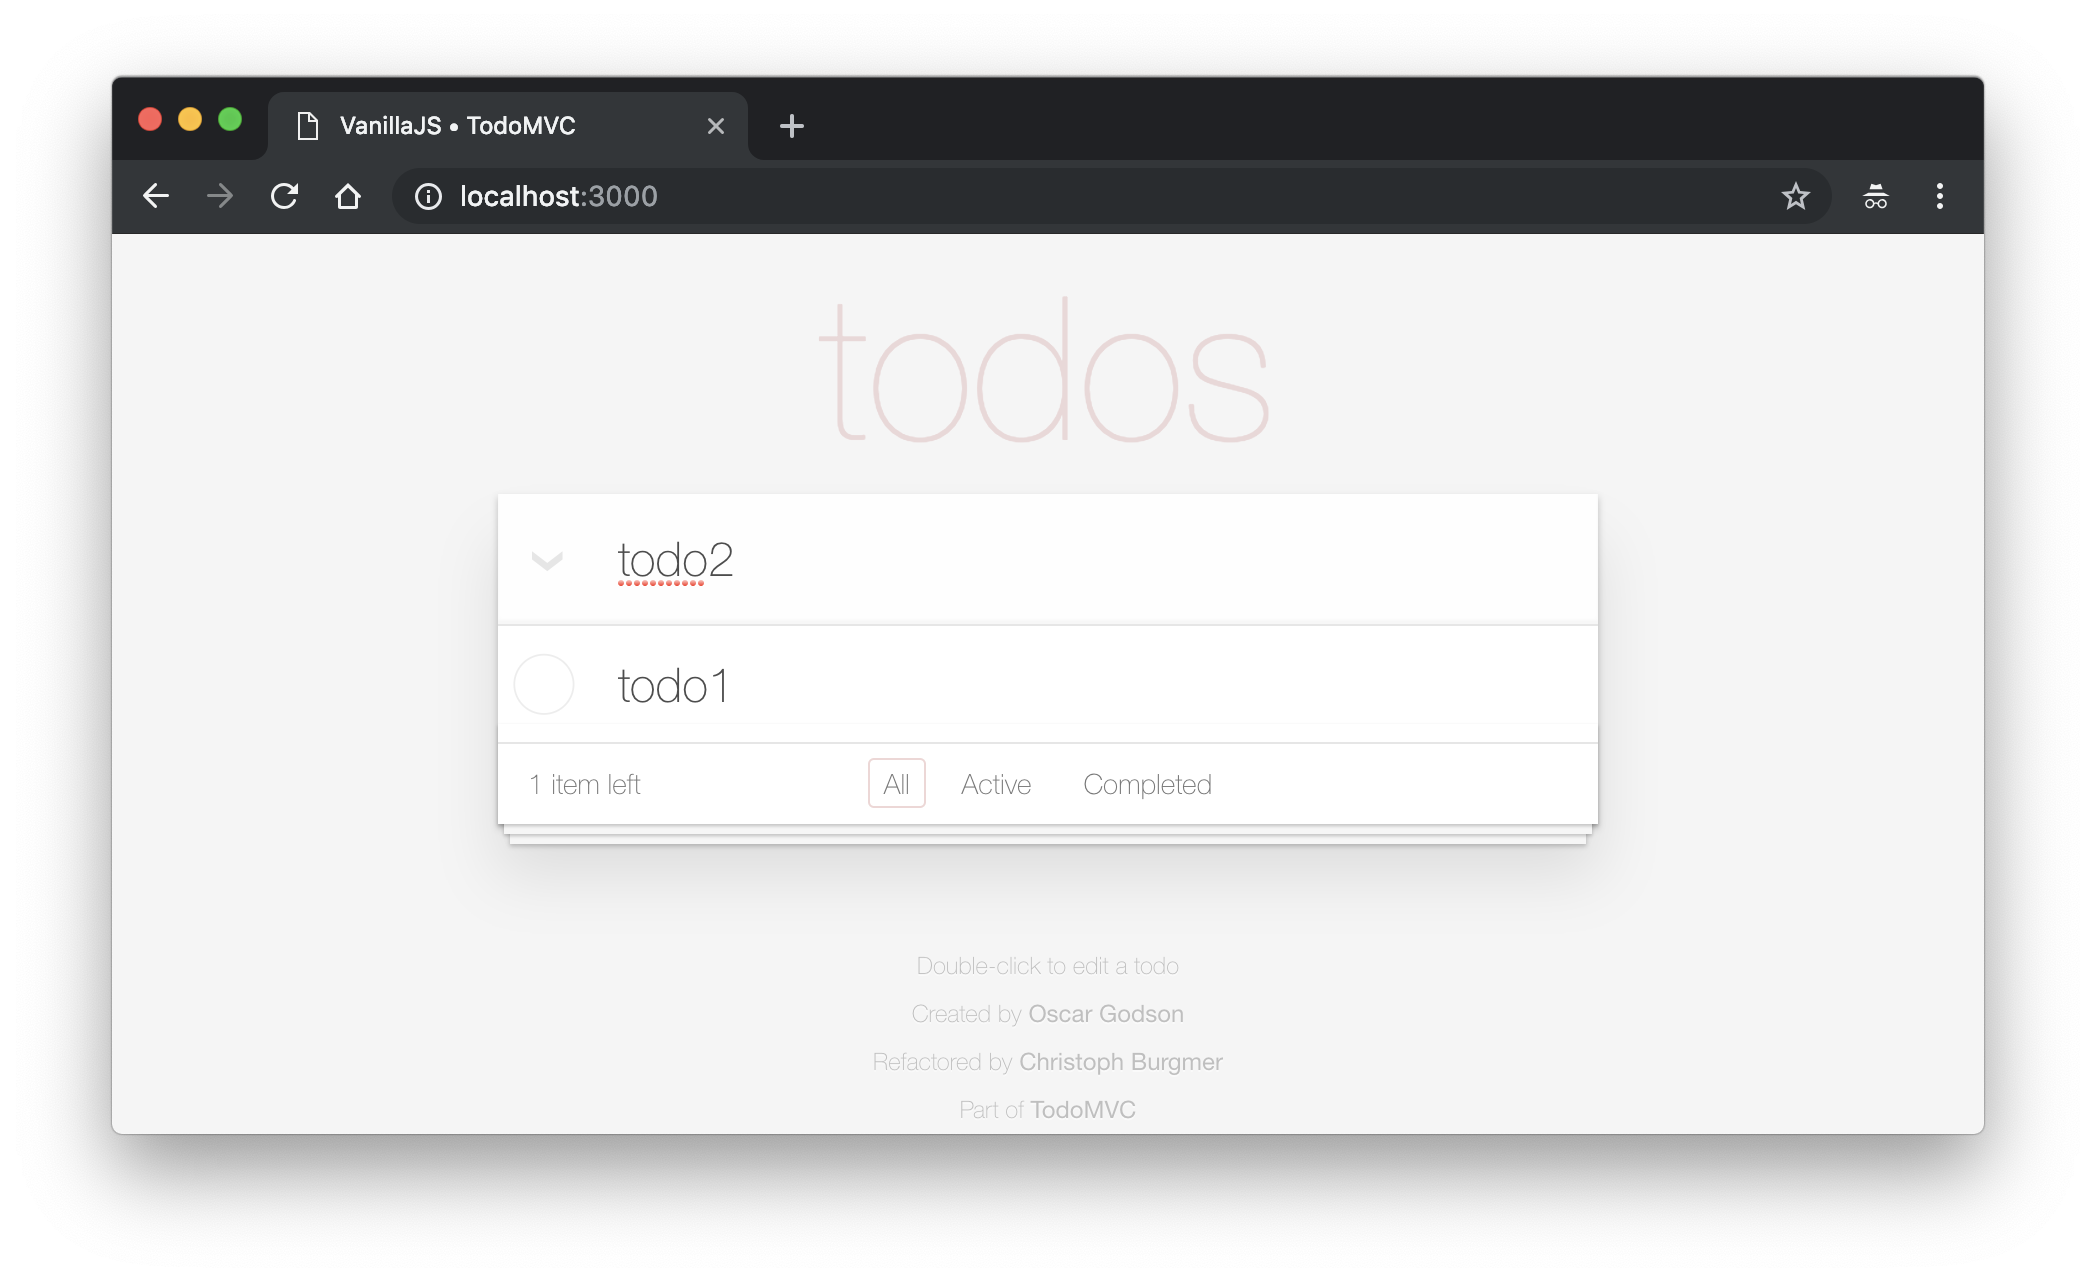
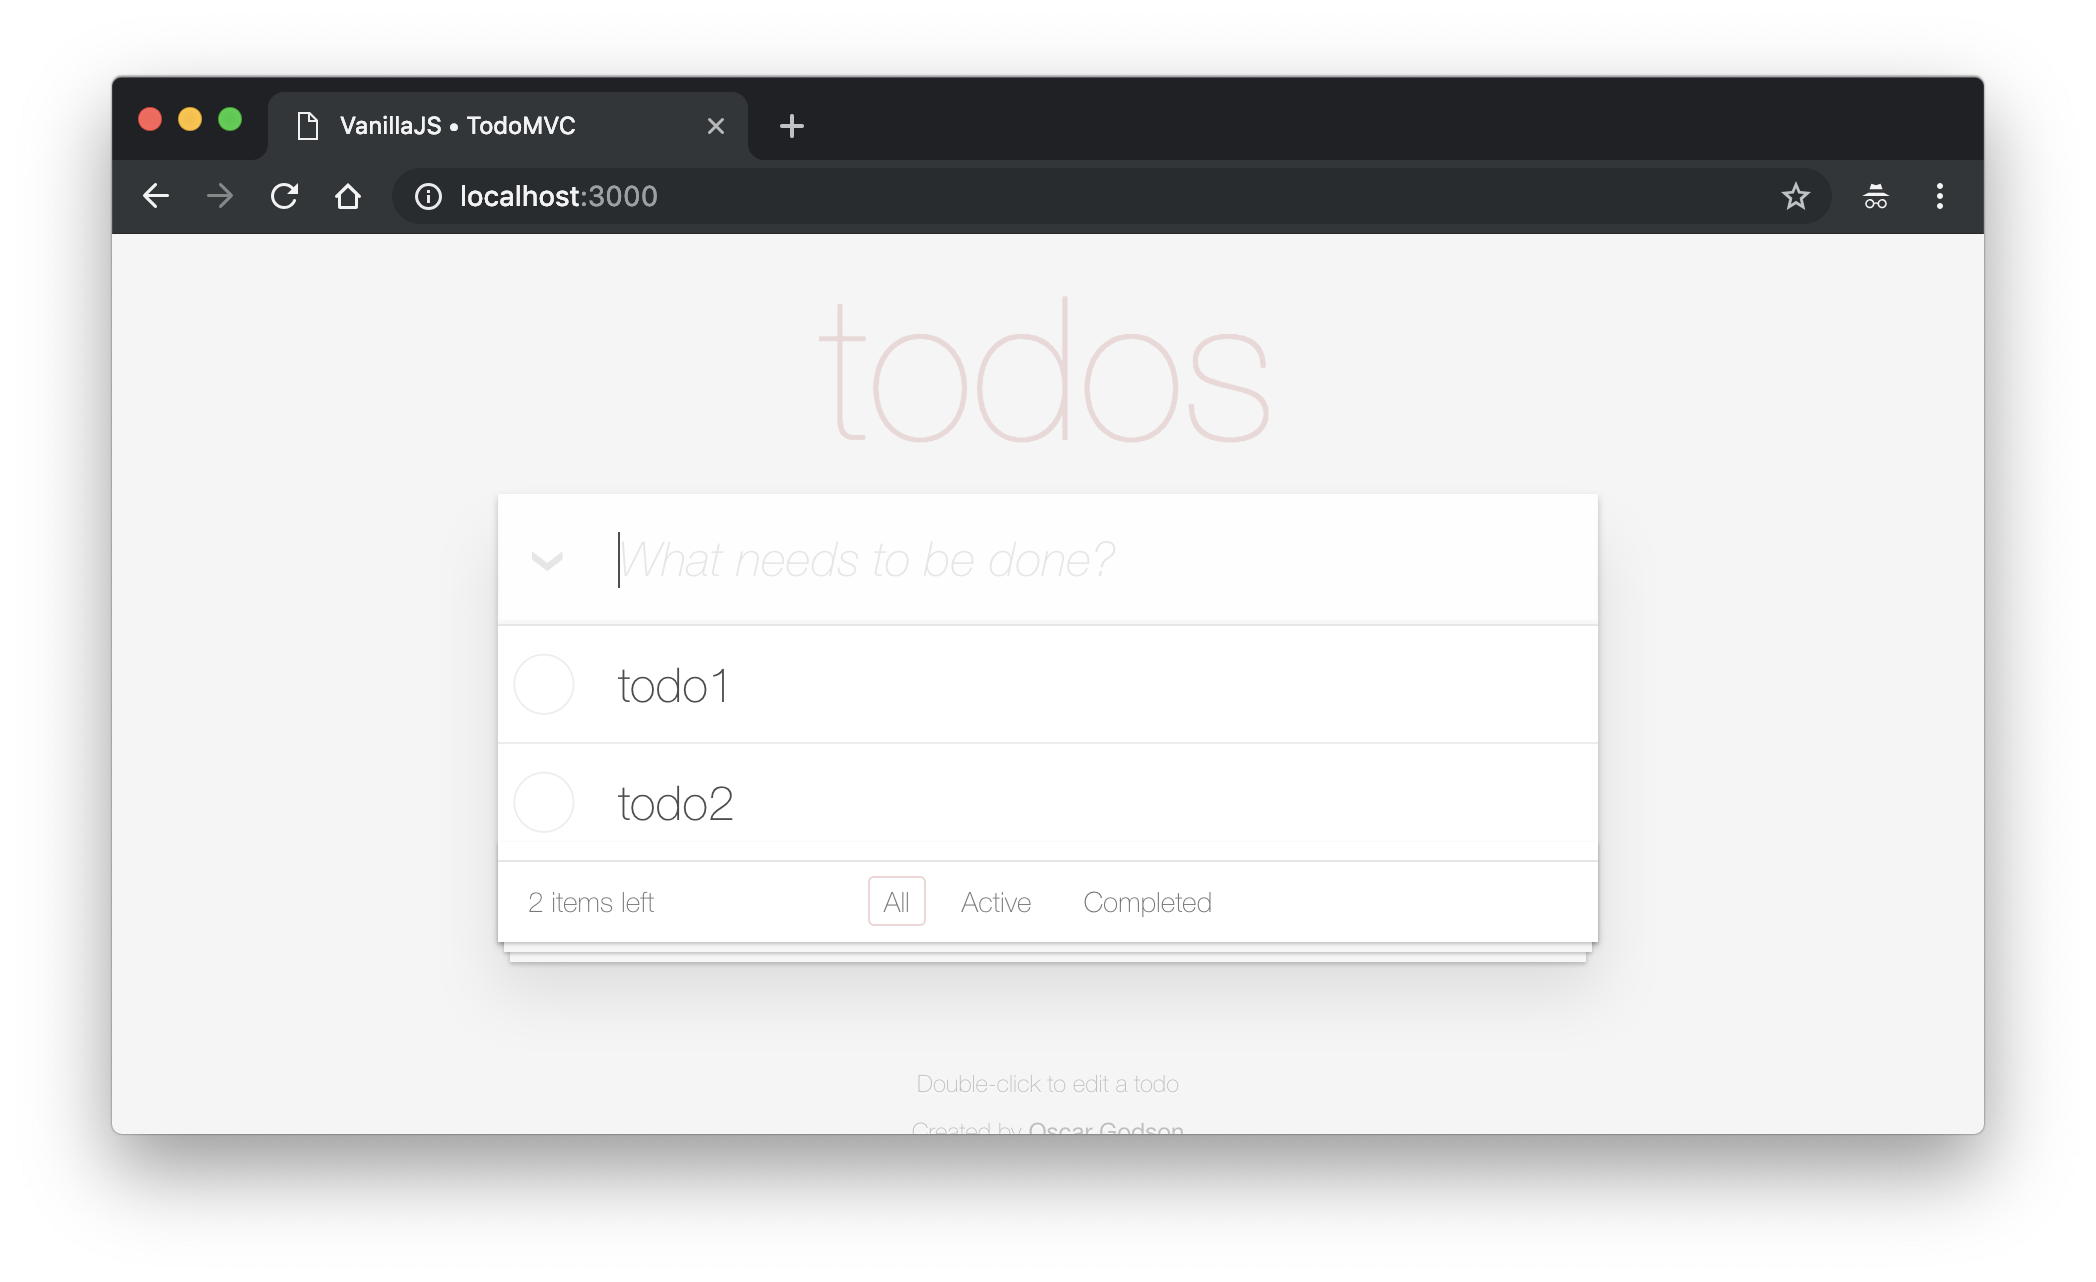
잘 동작한다.
PUT, DELTE 메소드 엔드포인트 만들기
투두 데이터를 수정하면 클라이언트에서는 "PUT /api/todos" 요청을 서버로 보낸다. 이 엔드포인트도 만들어 보자. 어플리케이션의 Put 메소드를 사용한다.
a.Put("/api/todos", func(rw http.ResponseWriter, r *http.Request) {
  var t Todo
  json.NewDecoder(r.Body).Decode(&t)

  var foundIdx int
  for i, todo := range db {
    if todo.Id == t.Id {
      foundIdx = i
    }
  }

  if foundIdx > -1 {
    db[foundIdx].Completed = t.Completed
  }

  enc := json.NewEncoder(rw)
  enc.Encode(&db)
})
바디 데이터를 읽고 기존디비에서 같은 아이디의 투두 데이터가 있는지 찾는다. 있으면(foundIdx > -1) Completed 값을 요청한 값으로 변경한다. 그리고나서 전체 투두 데이터를 응답하는 로직이다.
마지막으로 "DELETE /api/todos" 엔드포인트까지 추가해보자. 어플리케이션의 Delete 메소드를 사용한다.
a.Delete("/api/todos", func(rw http.ResponseWriter, r *http.Request) {
  id, _ := strconv.Atoi(r.URL.Query().Get("id"))
  if err != nil {
      panic(err)
  }

  var foundIdx int
  for i, todo := range s.db {
    if todo.Id == id {
      foundIdx = i
    }
  }

  if foundIdx > -1 {
    s.db = append(s.db[:foundIdx], s.db[foundIdx+1:]...)
  }

  enc := json.NewEncoder(rw)
  enc.Encode(&db)
})
삭제할 투두 데이터의 아이디가 쿼리 문자열로 전달되는데 r.URL.Query().Get("id")로 접근할수 있다. 이 데이터는 문자열이기 때문에 비교를 위해 정수로 변경했다(strconv.Atoi).
데이터를 찾아 삭제한뒤 전체 투두 데이터를 응답하는 로직이다.
요청, 응답 전용 함수
가만 보면 요청 데이터를 읽는 부분과 Json 응답부분이 중복 코드다. 각각 Bind, QueryParam, Json 메소드로 떼어내 보겠다. 함수 이름은 echo의 그것을 참고했다.
func Bind(r *http.Request, i interface{}) {
  json.NewDecoder(r.Body).Decode(i)
}

func QueryParam(r *http.Request, key string) string {
  return r.URL.Query().Get(key)
}

func Json(rw http.ResponseWriter, i interface{}) {
  enc := json.NewEncoder(rw)
  enc.Encode(&i)
}
스토어 타입
데이터 핸들링 부분도 Store로 떼어내면 중복 코드를 줄일 수 있겠다.
type Store struct {
  db []Todo
}

func NewStore() *Store {
  return &Store{}
}
기존에 있던 db를 Store 구조체로 만들었다. 스토어 생성함수도 만들었다.
데이터 CRUD 작업을 위한 메소드를 아래와 같이 추가하자.
func (s *Store) FindAll() []Todo {
  return s.db
}

func (s *Store) FindIndex(id int) (int, bool) {
  var foundIdx int
  for i, todo := range s.db {
    if todo.Id == id {
      foundIdx = i
    }
  }
  return foundIdx, foundIdx > -1
}

func (s *Store) Create(t Todo) {
  s.db = append(s.db, t)
}

func (s *Store) Update(t Todo) {
  i, found := s.FindIndex(t.Id)
  if found {
    s.db[i].Completed = t.Completed
  }
}

func (s *Store) Destroy(id int) {
  i, found := s.FindIndex(id)
  if found {
    s.db = append(s.db[:i], s.db[i+1:]...)
  }
}
메인함수 개선
메인함수에 몰려있던 로직을 역할에 따라 Application과 Store로 위임했다. 이 두 모듈을 적극 활용하면 메인함수를 아래와 같이 개선할 수 있다.
func main() {
  a := NewApplication()
  s := NewStore()

  a.Get("/api/todos", func(rw http.ResponseWriter, r *http.Request) {
    Json(rw, s.FindAll())
  })

  a.Post("/api/todos", func(rw http.ResponseWriter, r *http.Request) {
    var t Todo
    Bind(r, &t)
    s.Create(t)
    Json(rw, s.FindAll())
  })

  a.Delete("/api/todos", func(rw http.ResponseWriter, r *http.Request) {
    id, err := strconv.Atoi(QueryParam(r, "id"))
    if err != nil {
        panic(err)
    }
    s.Destroy(id)
    Json(rw, s.FindAll())
  })

  a.Put("/api/todos", func(rw http.ResponseWriter, r *http.Request) {
    var t Todo
    Bind(r, &t)
    s.Update(t)
    Json(rw, s.FindAll())
  })

  a.Static("examples/vanillajs")

  a.Start(":3000")
}
정리
기본 패키지만으로 웹 어플리케이션을 만들어봤다. 메인함수 작성을 시작으로 필요에 따라 Application과 Store로 역할을 나눠주는 방식으로 개선했다.
Application은 API 라우팅, 정적파일 처리, 서버 실행같은 웹 서버의 뼈대 역할을 한다.
Store는 데이터를 관리를 위한 녀석인데 여기서는 투두 데이터에 대한 CRUD 작업을 제공한다.
main 함수에서는 Application과 Store 인스턴스를 만들어 관리한다. 라우트 핸들러 로직을 정의하고 정적파일 위치를 세팅한 뒤 서버를 구동하는 일을 한다.